Are you a service center owner or do you manage a sales or manufacturing company? Then you know how crucial accurate tracking of goods, spare parts, and orders is. Manual labeling is time-consuming and prone to errors. The Gincore software offers an effective solution to this problem—integration with a printer for label and barcode printing.
This Gincore feature allows you to organize your warehouse, speed up order processing, and minimize the impact of human error. In this article, we will detail how to connect and set up a thermal printer to work with your CRM system, taking your service center's automation to the next level.
Purpose of the Feature: Why Does Your Business Need Label Printing?
The main purpose of integrating a label printer with Gincore is to create unique identifiers for each inventory item. These can be goods for sale, spare parts in stock, customer devices under repair, or finished products.
Label printing in Gincore solves several key challenges:
- Identification: Each item or order is assigned a unique barcode.
- Process Acceleration: Scanning a barcode takes seconds, unlike searching a database manually.
- Error Minimization: Automation eliminates errors associated with manual data entry.
- Professional Appearance: Labeling orders and products enhances customer trust.
Capabilities and Benefits of Using a Thermal Printer
Integrating a thermal printer opens up extensive opportunities for optimizing business processes. Using this Gincore feature gives your business tangible advantages.
Key Capabilities:
- Printing labels for products: Label goods upon arrival at the warehouse for quick tracking and sales.
- Labeling orders: Assign a unique number to each order to track its status from receipt to delivery.
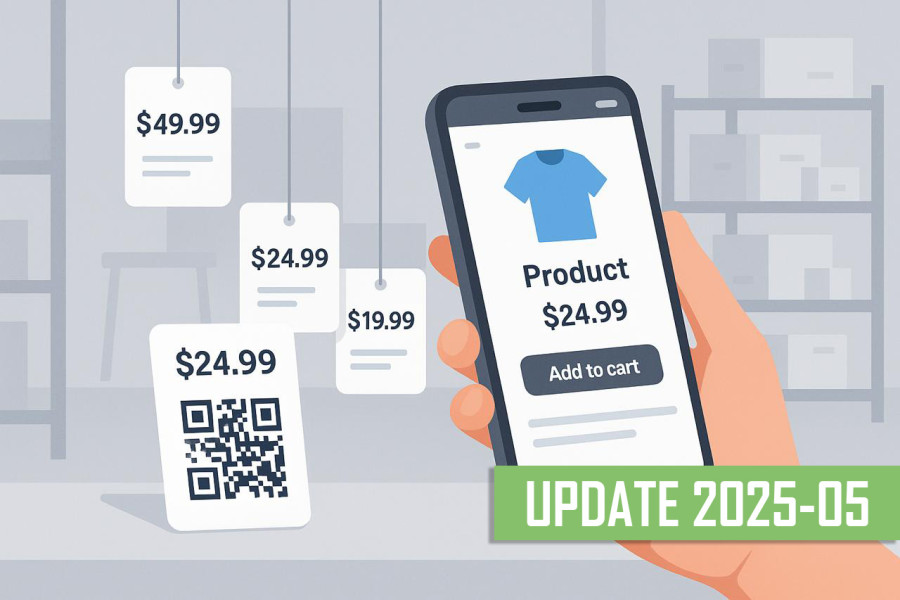
- Creating price tags: Quickly generate and print price tags for items on the sales floor.
- Tracking spare parts: Label repair components to know exactly what is in stock and where.
Business Advantages:
- Time Savings: Employees spend less time on routine tasks like finding and identifying products.
- Increased Accuracy: Reduces the risk of stock mix-ups and errors when issuing orders.
- Faster Inventory Counts: Conducting a stocktake becomes significantly faster and easier.
- Transparent Tracking: At any moment, you can get accurate information on product movement and order fulfillment.
Step-by-Step Gincore Guide: How to Connect and Set Up the Printer
The process of connecting and configuring the printer does not require special technical skills. By following these instructions, you can quickly prepare your equipment for operation.
Step 1: Preparing the Printer and Installing the Label Roll
Before connecting the printer to your computer, you need to prepare it for use.
- Open the printer cover.
- Install the roll of thermal labels onto the special holder.
- Feed the label tape through the guides so it emerges from the printing slot.
- Close the printer cover, ensuring the tape is secured.
Important: Use high-quality thermal labels of the appropriate size. This will ensure clear printing and durable barcodes.
Step 2: Installing Drivers
For the printer to work correctly, your operating system must "see" it.
- Connect the printer to your computer with a USB cable and turn on the power.
- Insert the driver disc that came with the printer, or download them from the manufacturer's website.
- Run the installer and follow the on-screen instructions. Typically, you just need to select your printer model and the connection port (USB).
- Once the installation is complete, a new label printer will appear in your computer's list of devices.
Step 3: Configuring Printing in Gincore
Now you need to configure the Gincore software to work with the new equipment.
- Log in to your Gincore account.
- Go to the “More” -> “Settings” -> “Custom Printable Document Templates” section.
- Create a new or edit an existing template for label printing. You can specify what information will be on the label: product name, price, SKU, and, of course, the barcode.
Step 4: Printing a Test Label
The final step is to check if the system is working correctly.
- Go to the “Warehouses” -> “Stock Balances” section.
- Find any serial number and open its card.
- Click the “print” icon, check the “Label (barcode)” box, and click “Print” to generate it.
- Click the “Print” button. In the window that opens, select your label printer and send the label to print.
- If everything is set up correctly, the printer will print a label with the selected information and a barcode.
Business Application Examples
- Service Center: When accepting a device for repair, an employee prints a label with a barcode and attaches it to the device. The repair status is then tracked by a simple scan, which eliminates mix-ups.
- Retail Store: When a new shipment of goods arrives, each item is labeled with a price and barcode. This speeds up the cashier's work and simplifies inventory tracking.
- Manufacturing: Finished products are labeled for tracking in the warehouse and during shipment to customers.
Tips and Tricks
- Printer Calibration: Before starting, be sure to calibrate the printer so that it prints exactly in the center of the label. This is usually done by pressing a special button on the printer or through the driver settings.
- Use a Scanner: For maximum efficiency, use a USB barcode scanner. This will turn your computer into a full-fledged inventory management system for your service center.
- Backup Your Templates: Save your configured label templates so you can quickly restore them in case of a system failure.
FAQ (Frequently Asked Questions)
Which printer is suitable for working with Gincore?
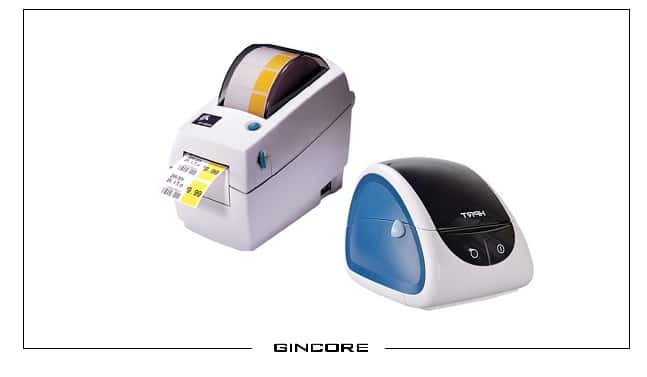
Most modern thermal and thermal transfer printers will work. The video uses an Xprinter model as an example, but the system is compatible with other manufacturers as well. The main thing is to have drivers for your operating system.
Can I print a company logo on the labels?
Yes, in the print template settings in Gincore, you can usually add not only text but also graphic elements, including a logo.
What should I do if the barcode doesn’t scan?
Check the print quality. You may need to clean the printer's printhead or increase the print density in the driver settings. Also, make sure the barcode size on the label is large enough for your scanner to read.
Conclusion
Integrating a label printer is a simple yet powerful Gincore feature that significantly simplifies accounting and helps automate key processes. By spending a little time on setup, you will get a reliable tool for controlling goods and orders, reducing errors, and increasing customer service speed.
Don't put off optimization. Implement label printing today to make your business more efficient and competitive.

.png)


